Chapel Door at Rudge
Photos of the restoration work that went into
bring the doors back to life after 178 years

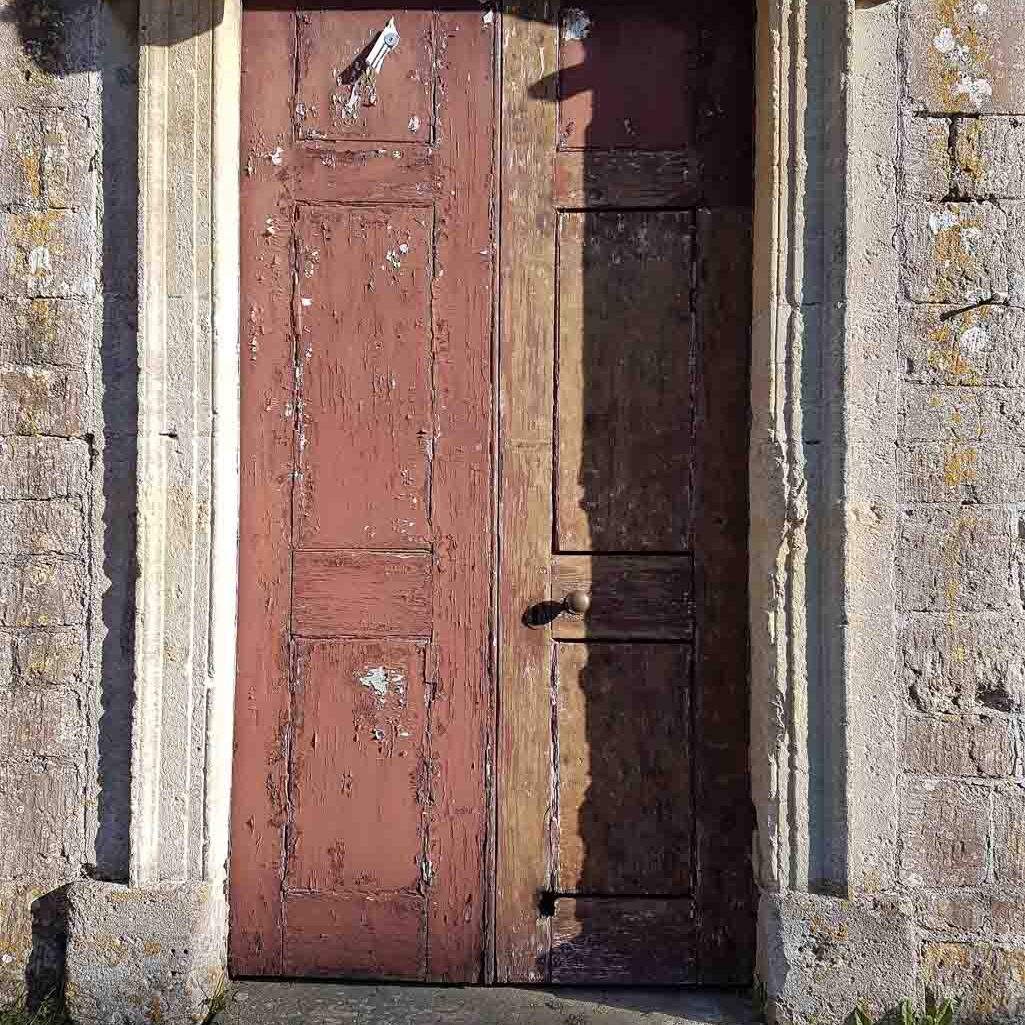
The Wesleyan Methodist Chapel in Rudge

Chapel door with one side part stripped and a burn hole in the lower rail
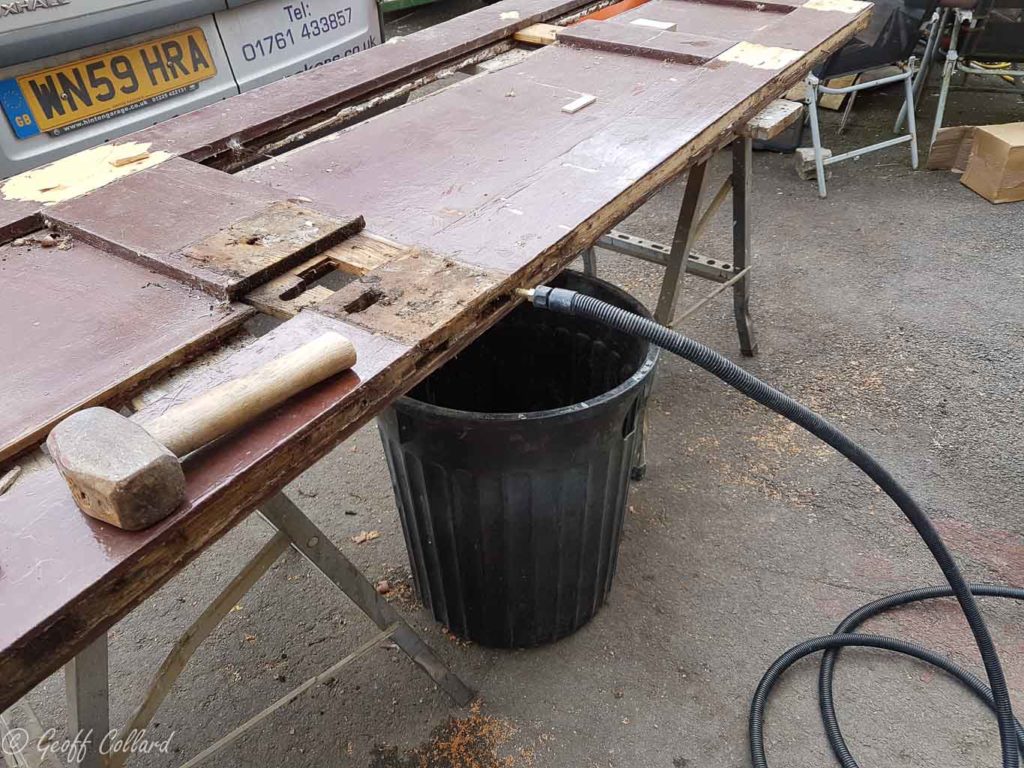
how to break a door apart for resroration
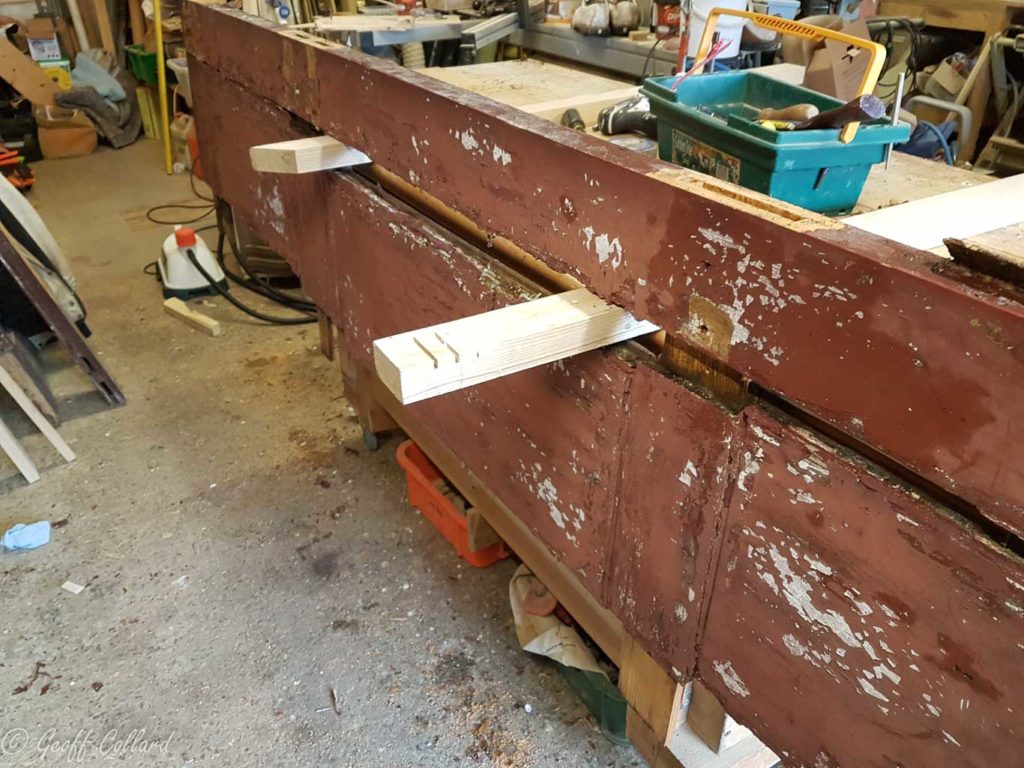
removing the door panels
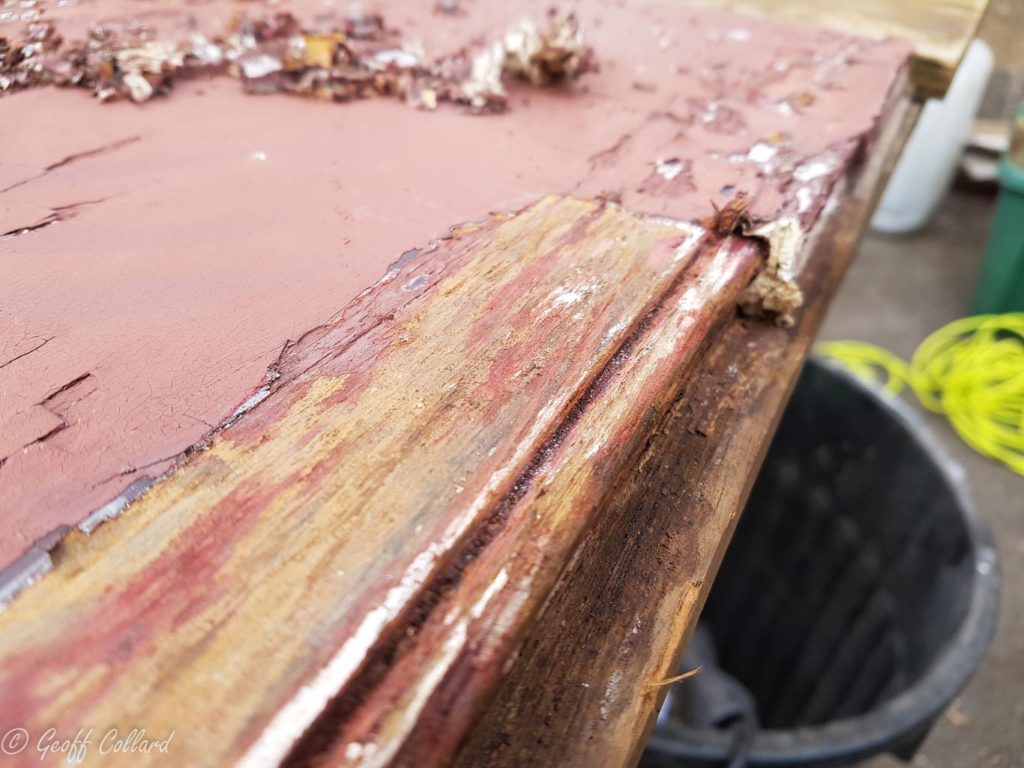
removing thick paint to reveal a bead
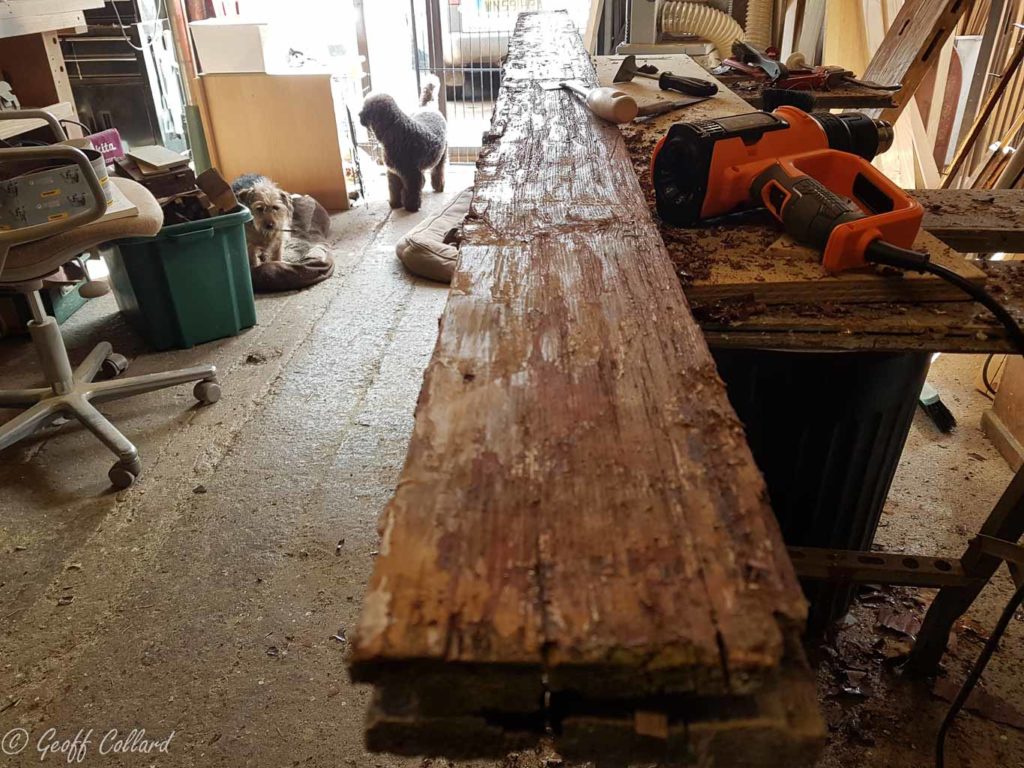
old stile showing surface damage
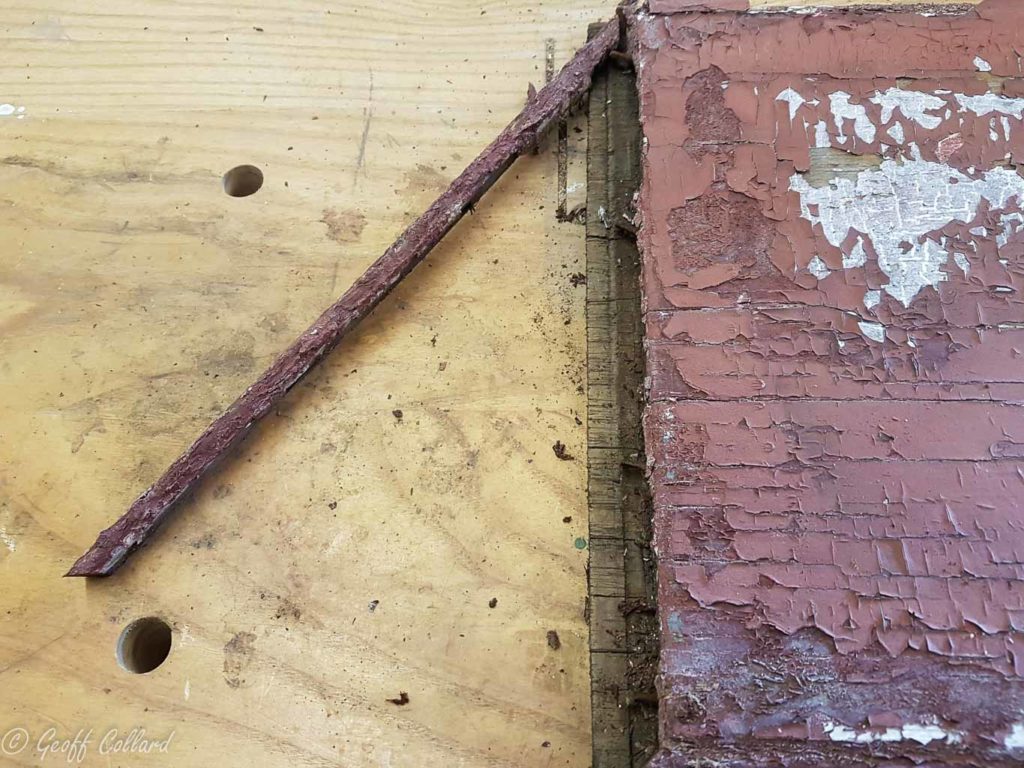
Door panel showing top bead in a bad way, I could salvage these with a lot of effort but due to the increase in width of the panel they would be to short.
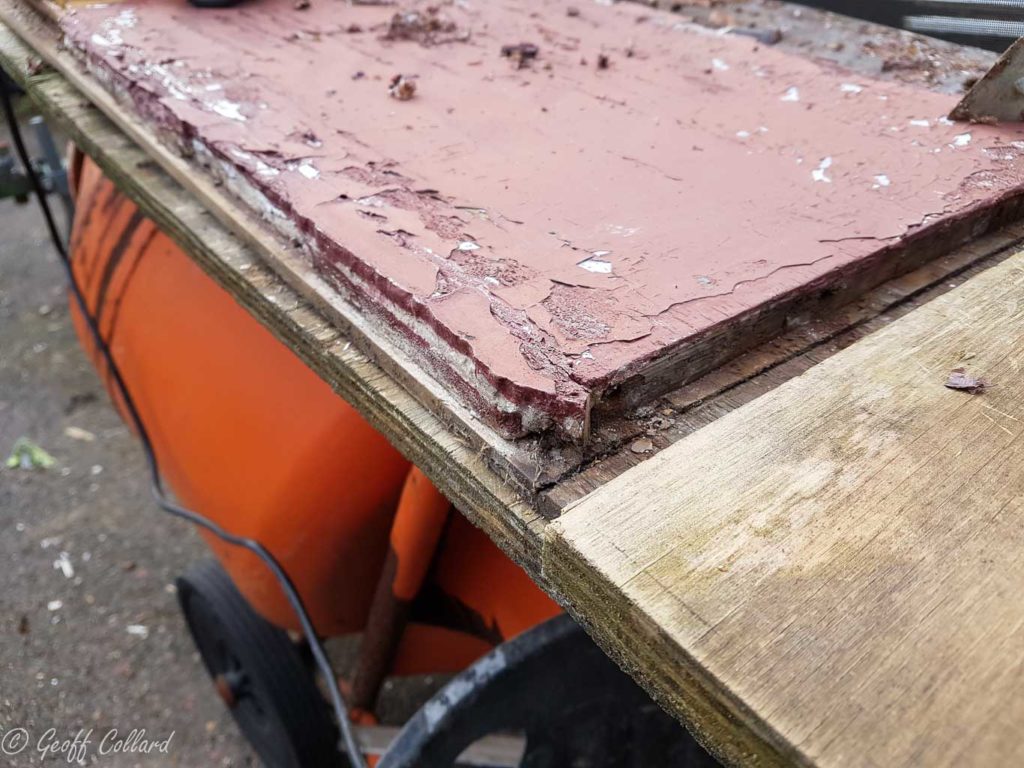
Showing the panel moulding completely hidden by filler and putty
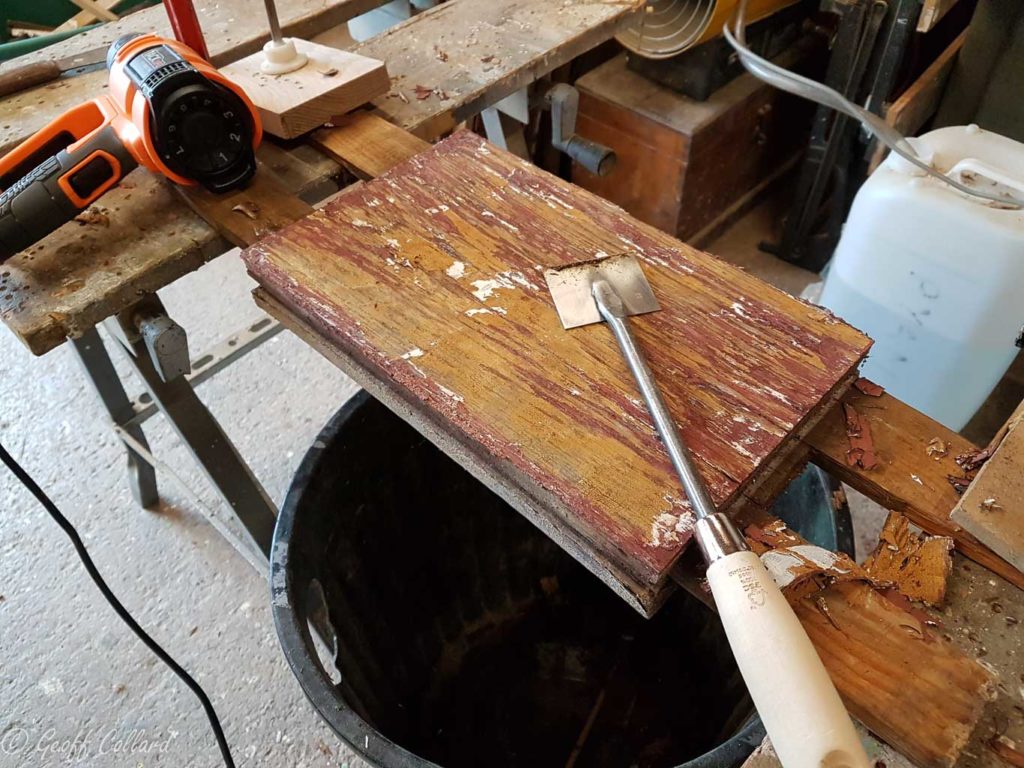
Paint scraping with a hot air gun
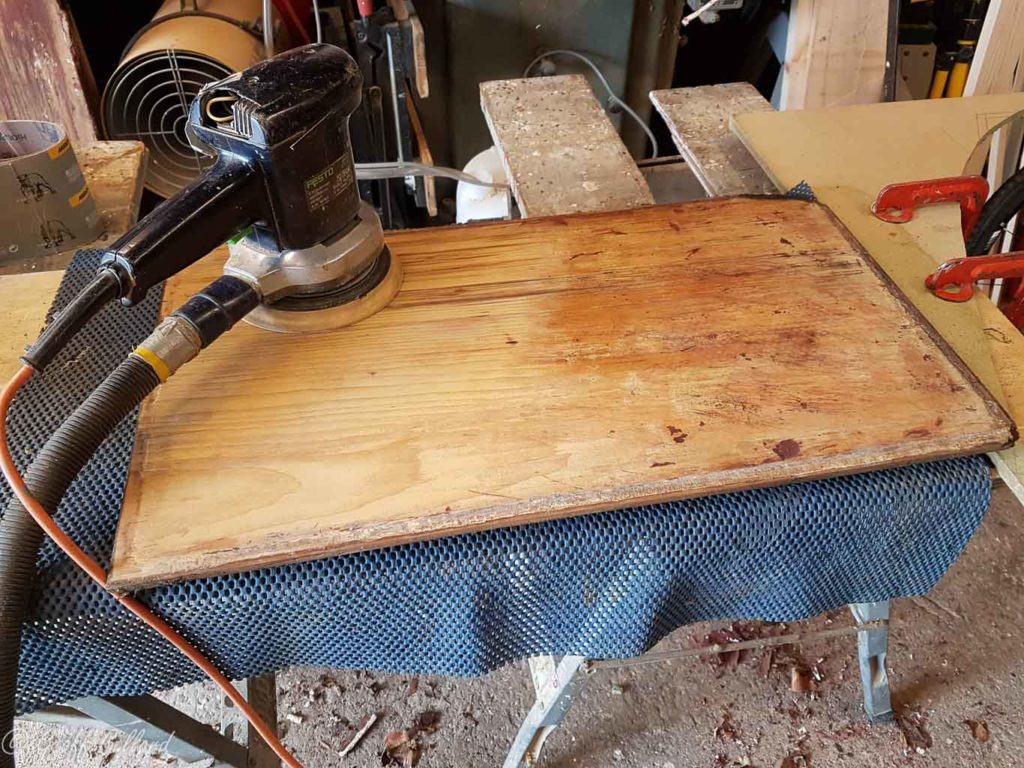
Sanding the door panel after scraping
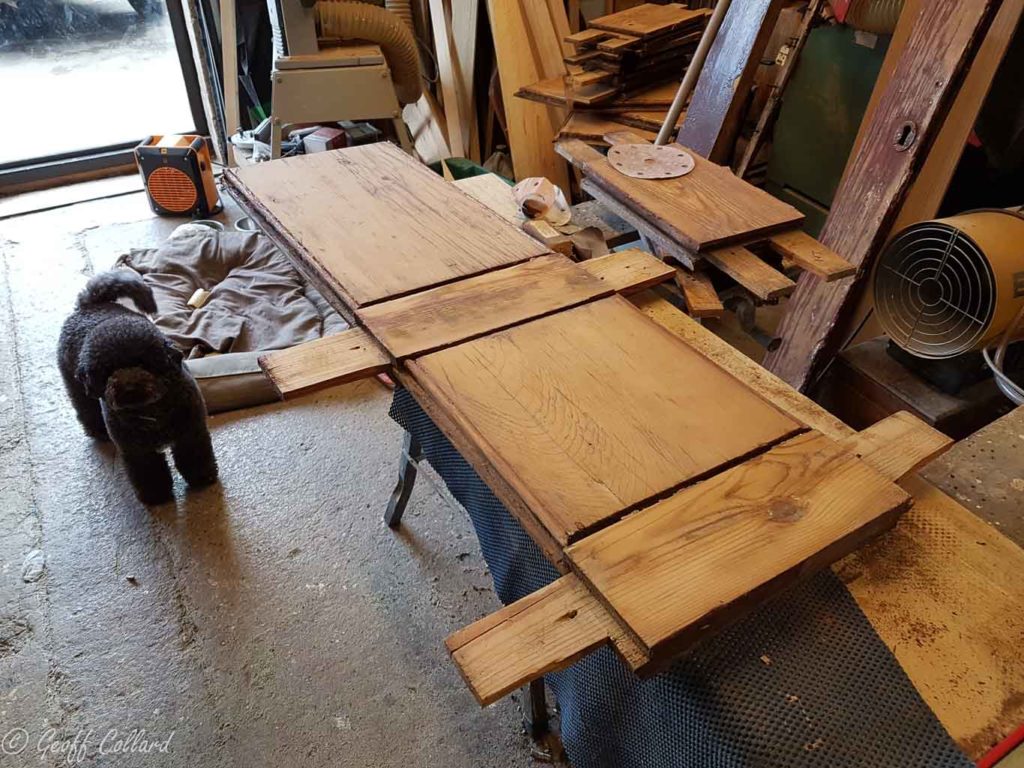
Dry fit of panels to check against the rail width the thickness of extra wood needed to be glued on, long grain moves a negligible amount and is never worried about.
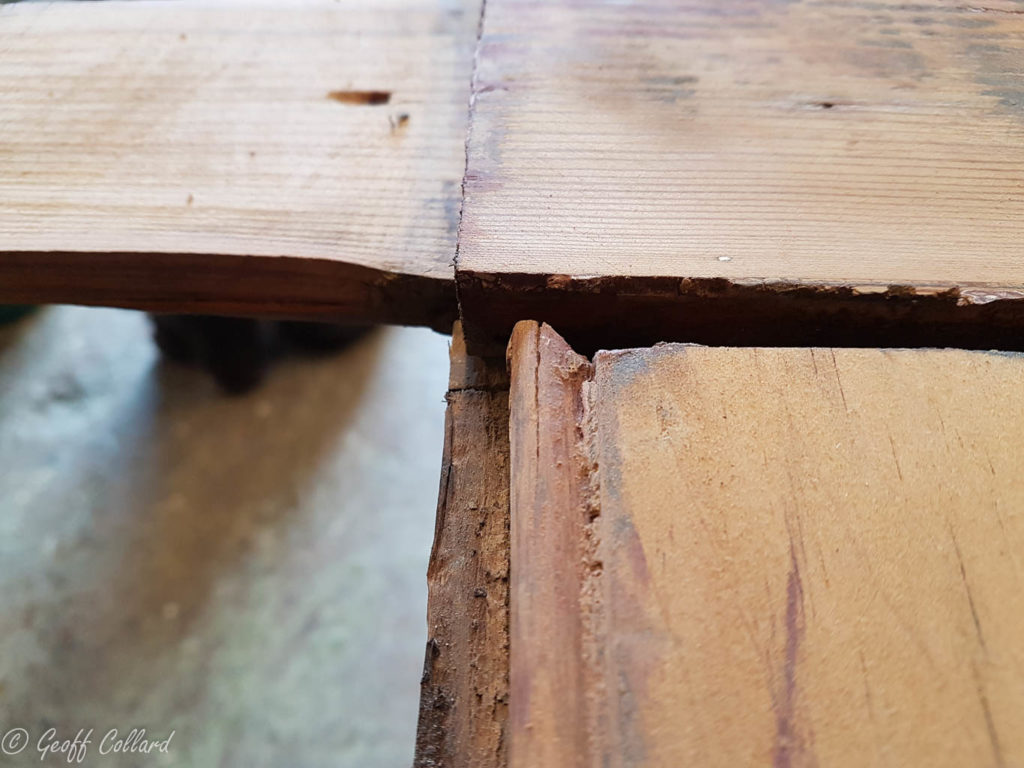
Shrinkage width
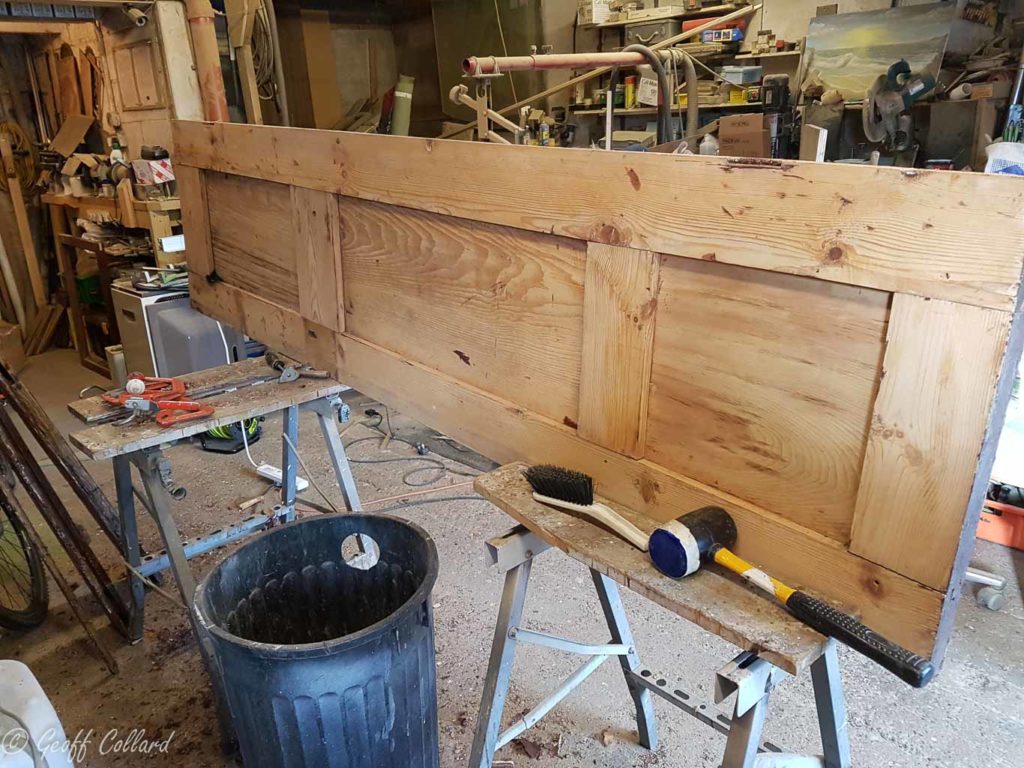
A view of the back dry fitted
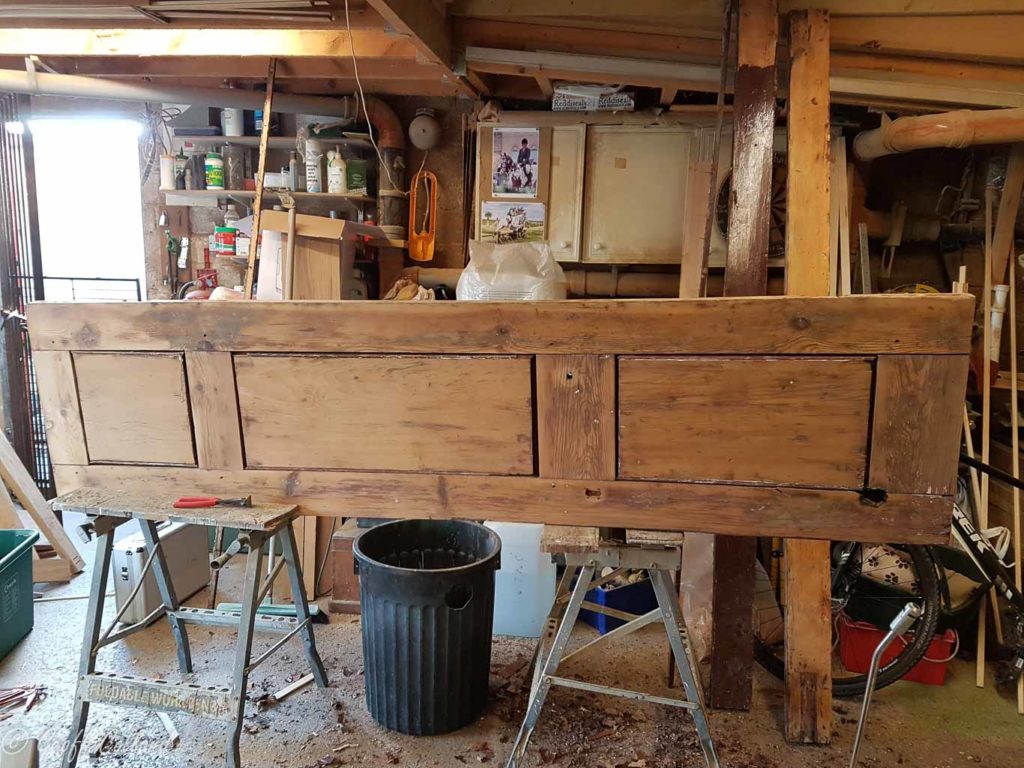
Dry fit to check all is ok
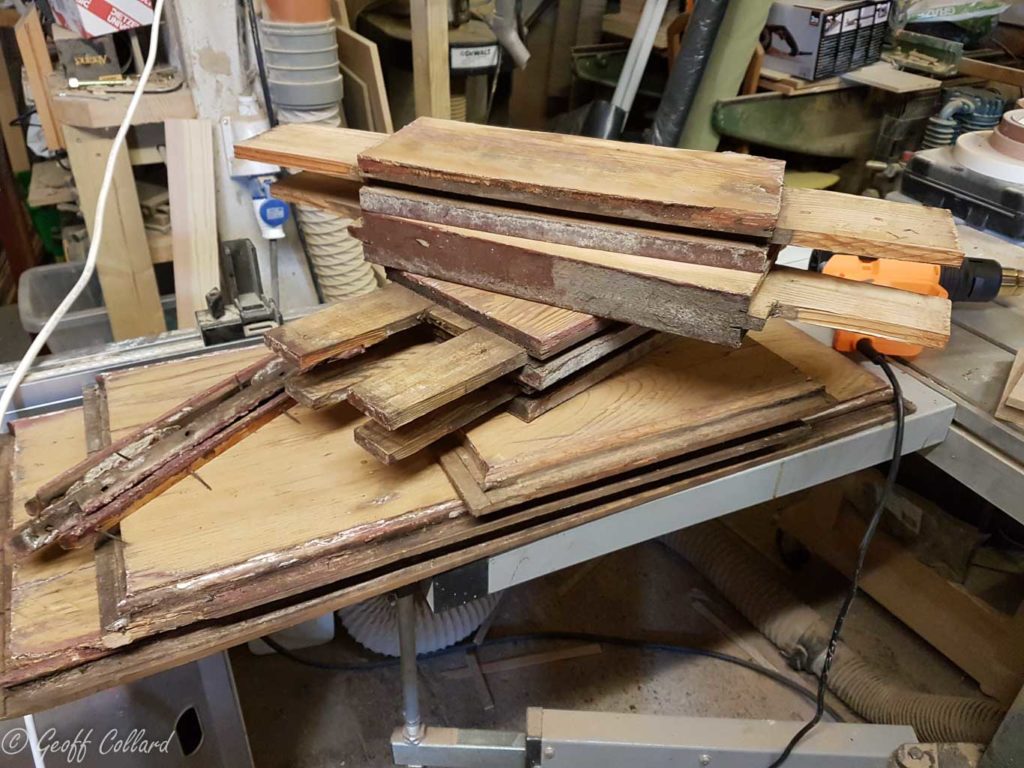
All the component parts of the door
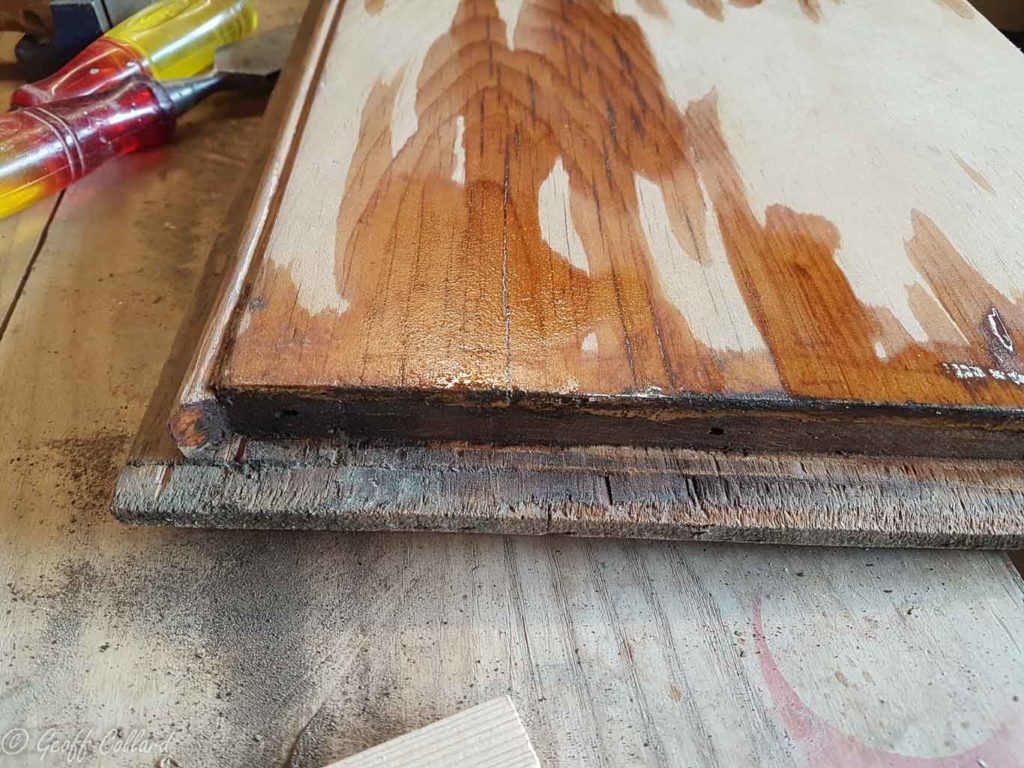
Applying wood hardener to the cracks and end grain, I poured hardener down the cracks
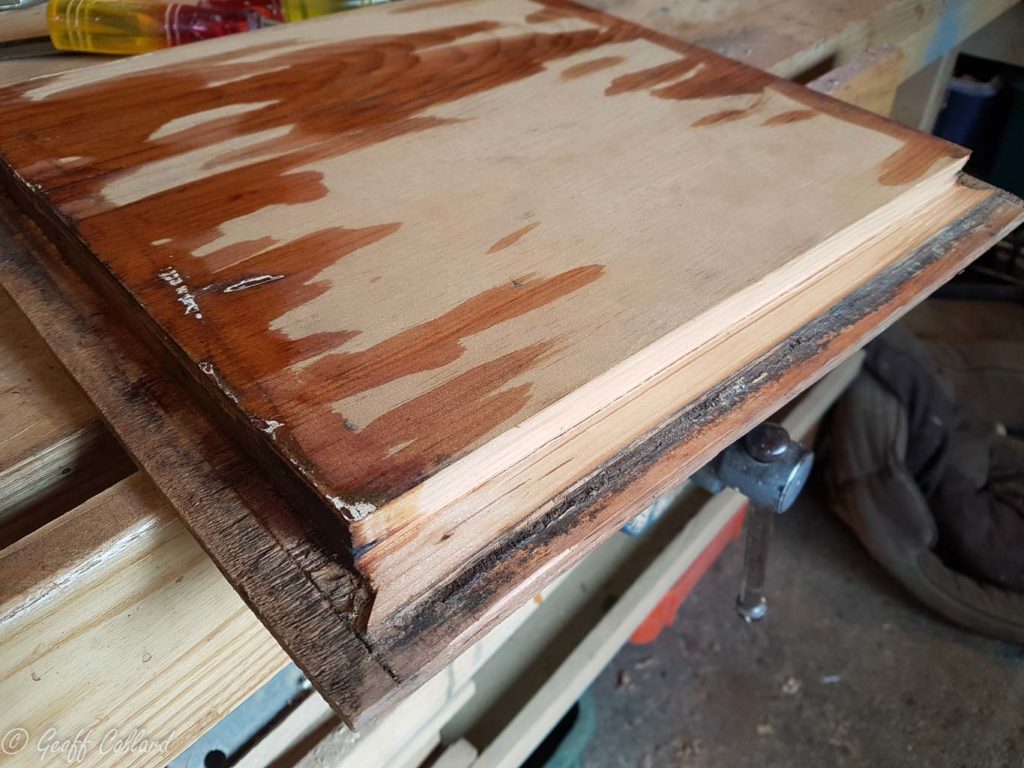
There was plenty of width left on the tongue even with the extra wood added so I decide it would make a better job to rebate in the extra wood.
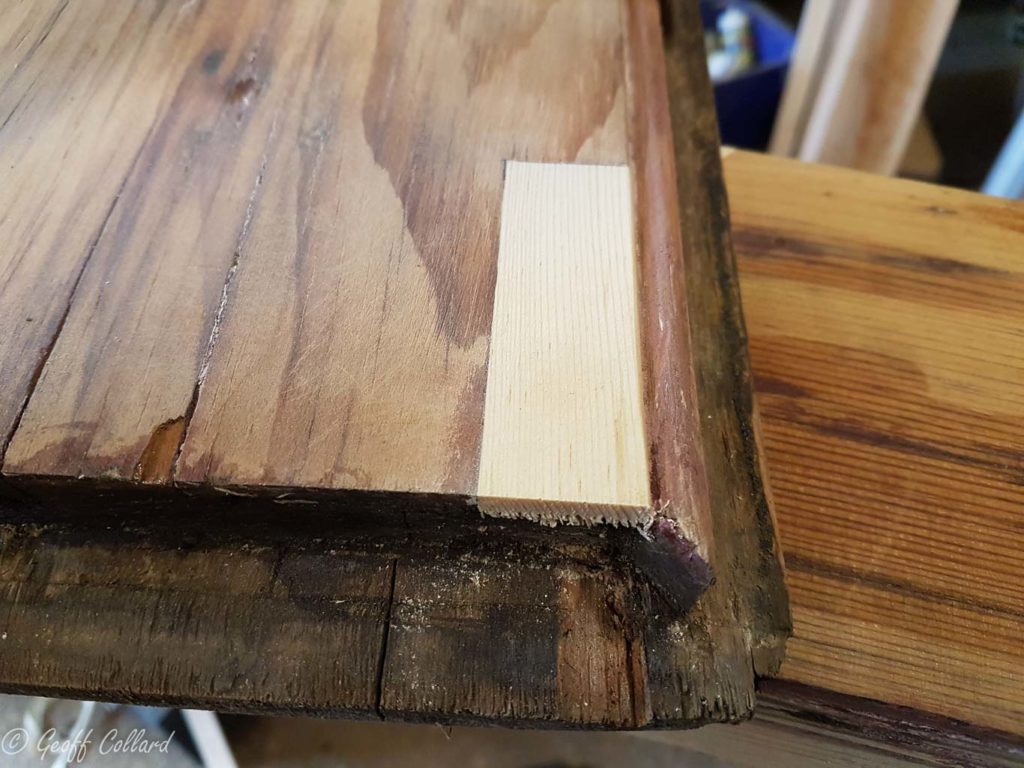
Piece let in on a rough gouge
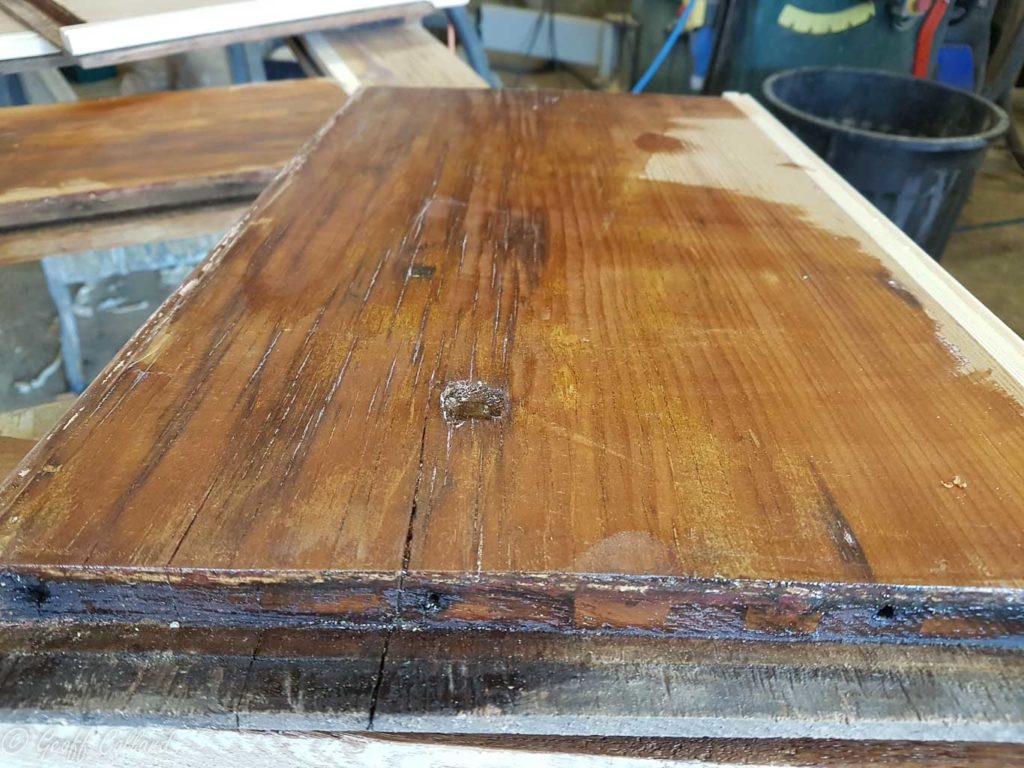
Applying a second coat of hardener to the end grain
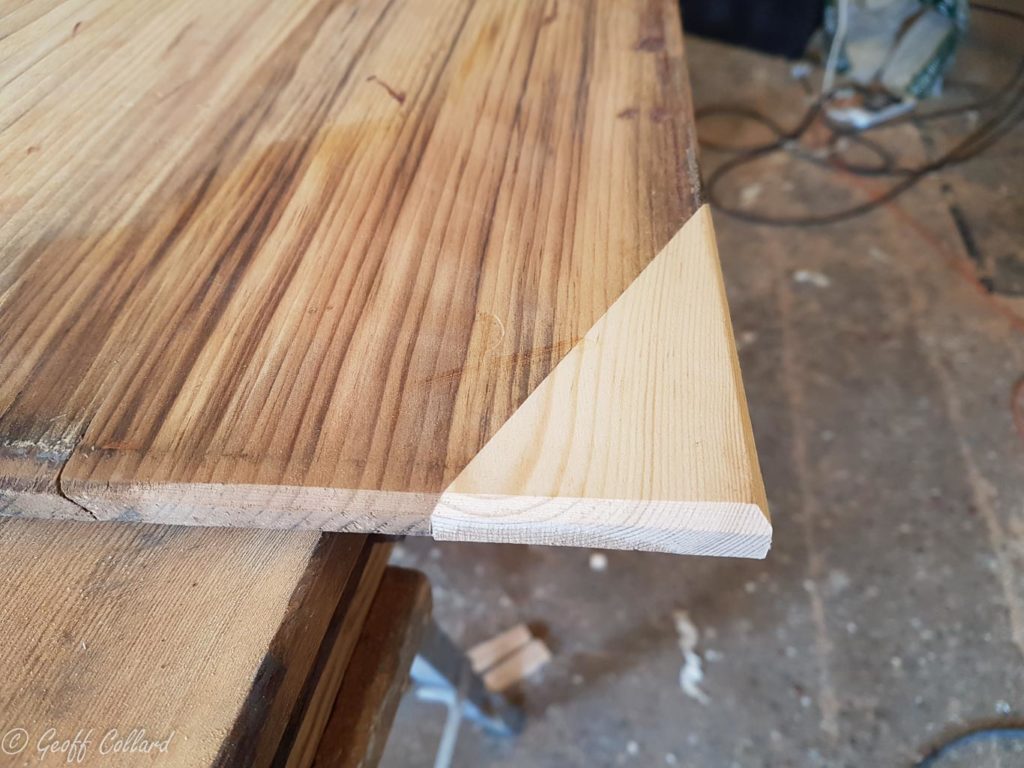
Patch from the burnt area
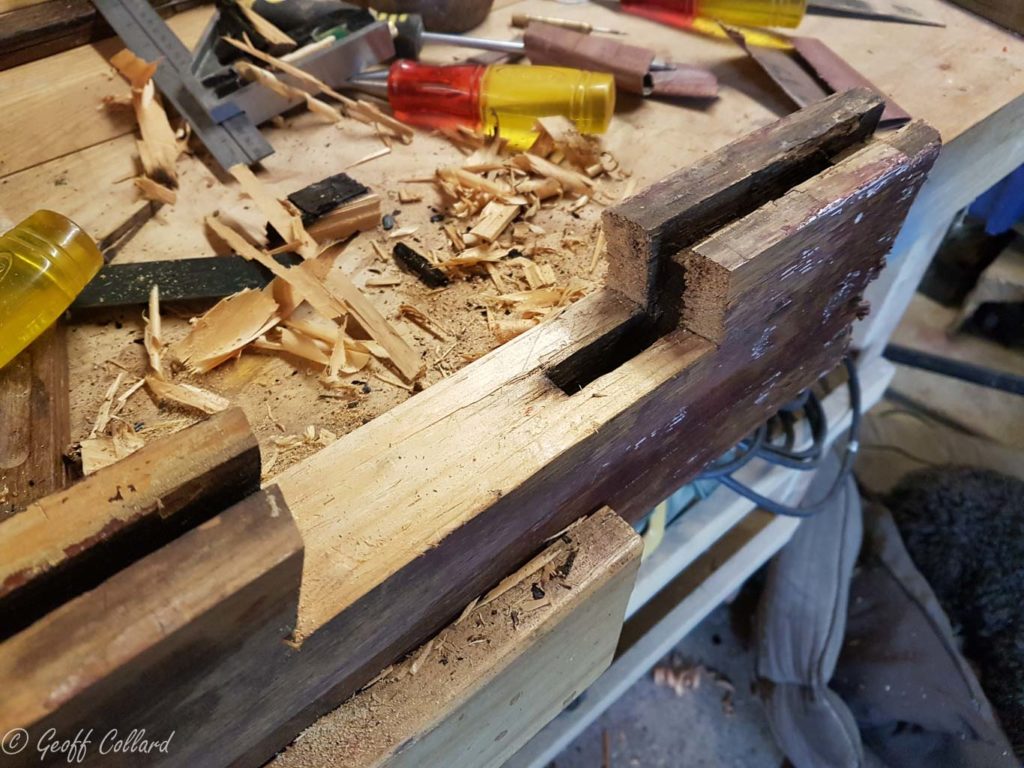
Cut out for the patch to replace the burnt bits
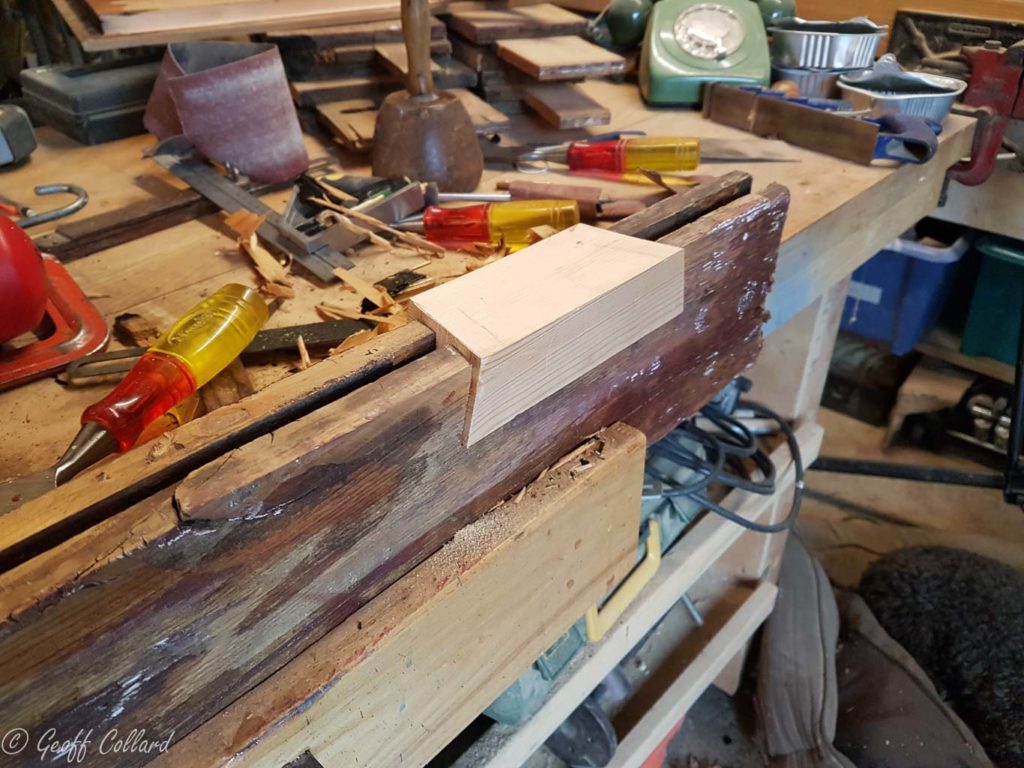
Patch in place ready to plane and sand
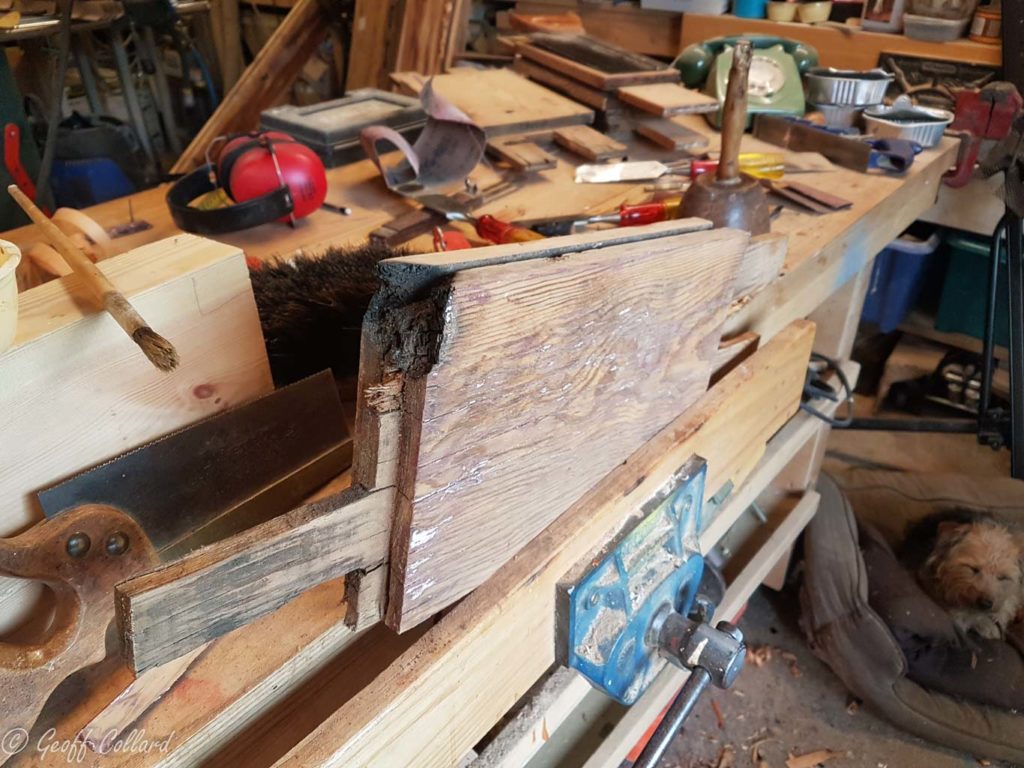
Burnt tenon ready to patch
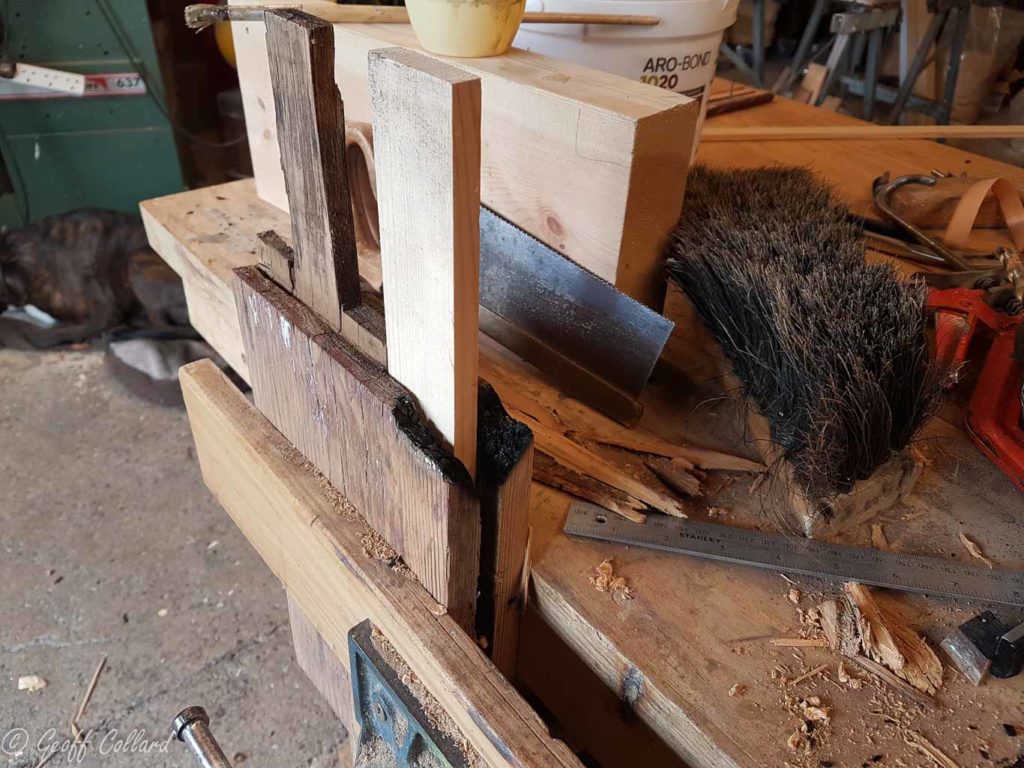
I chopped out a deep slot to receive a new tenon, this was glued in with cascamite
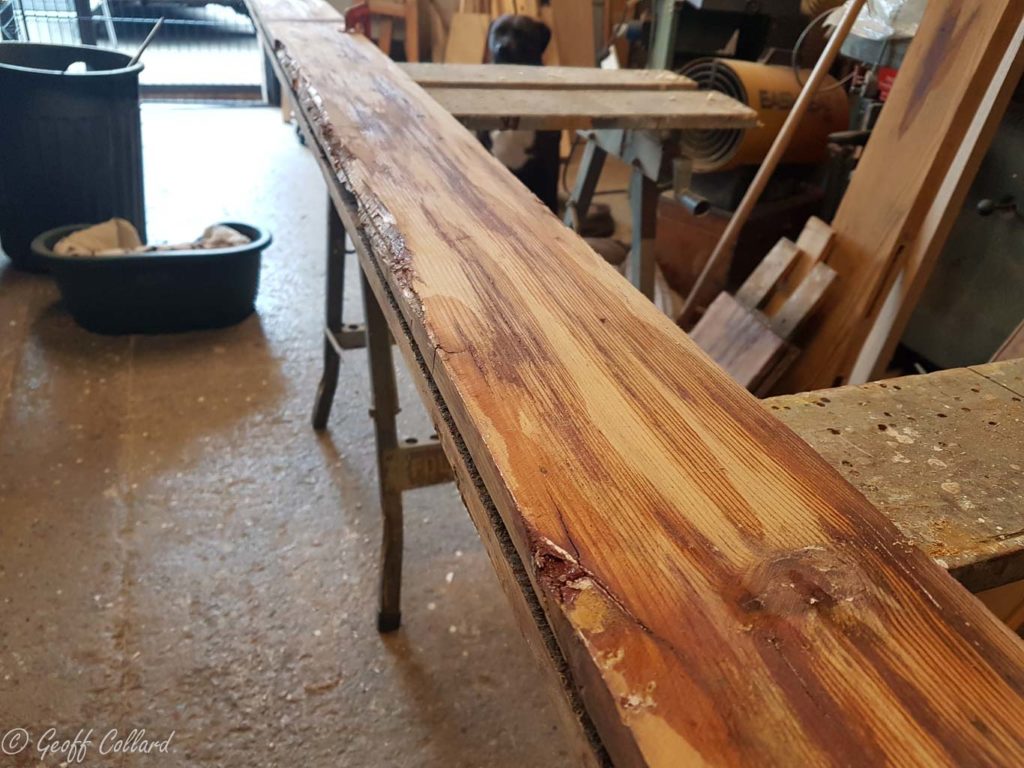
This was another area that needed some extreme attention
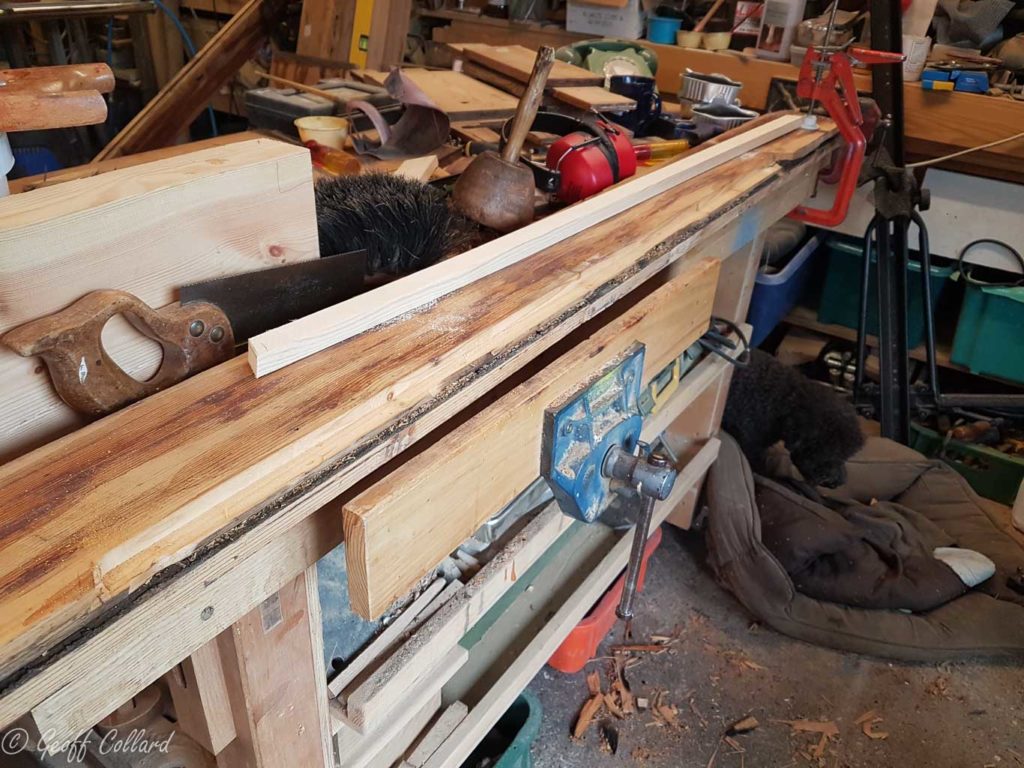
I rebated out the rubbish and let a new piece in, if this was a piece of antique furniture I would of used an old piece of good wood, I have plenty of hardwood for this but not softwood plus it's painted so I wasn't to worried
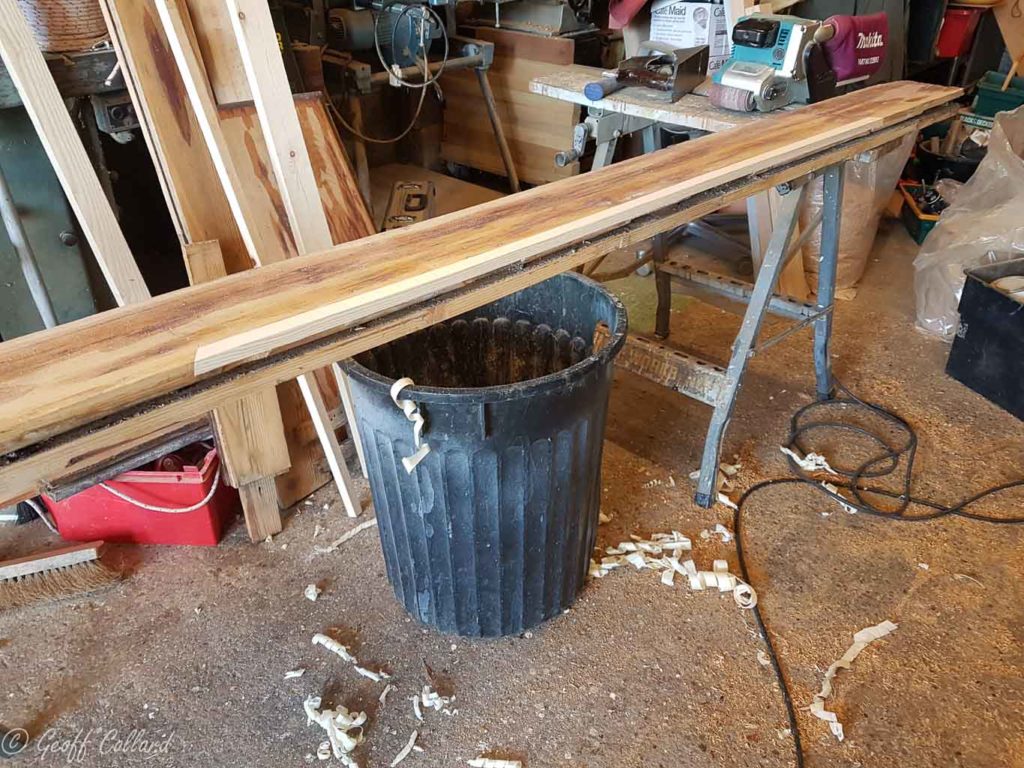
Patch now glued and sanded
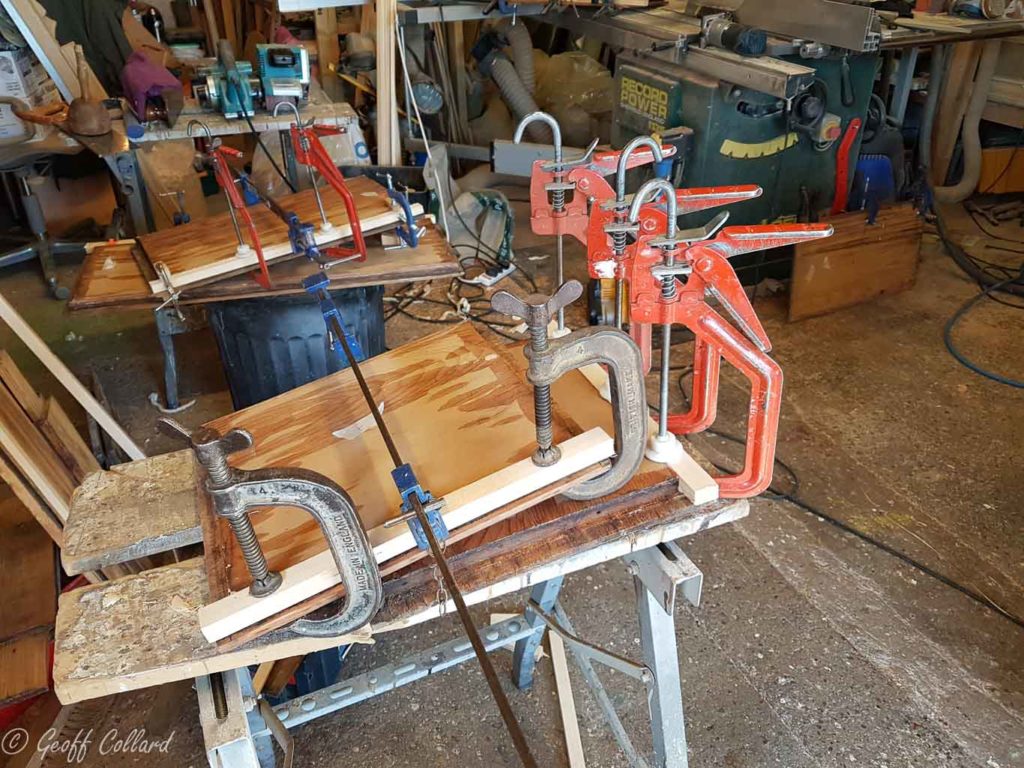
Mouldings glued on
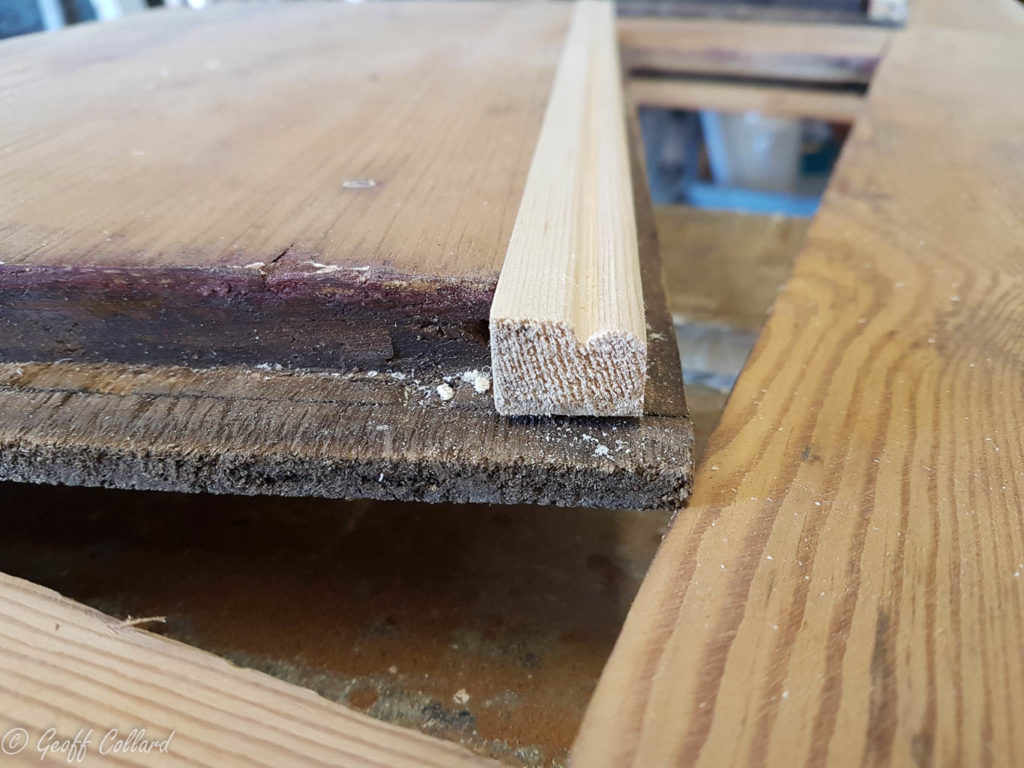
After gluing on the new piece I hand cut the moulding to match the existing, I could of machined up a cutter for this but sometimes it's just as easy to do things the old ways.
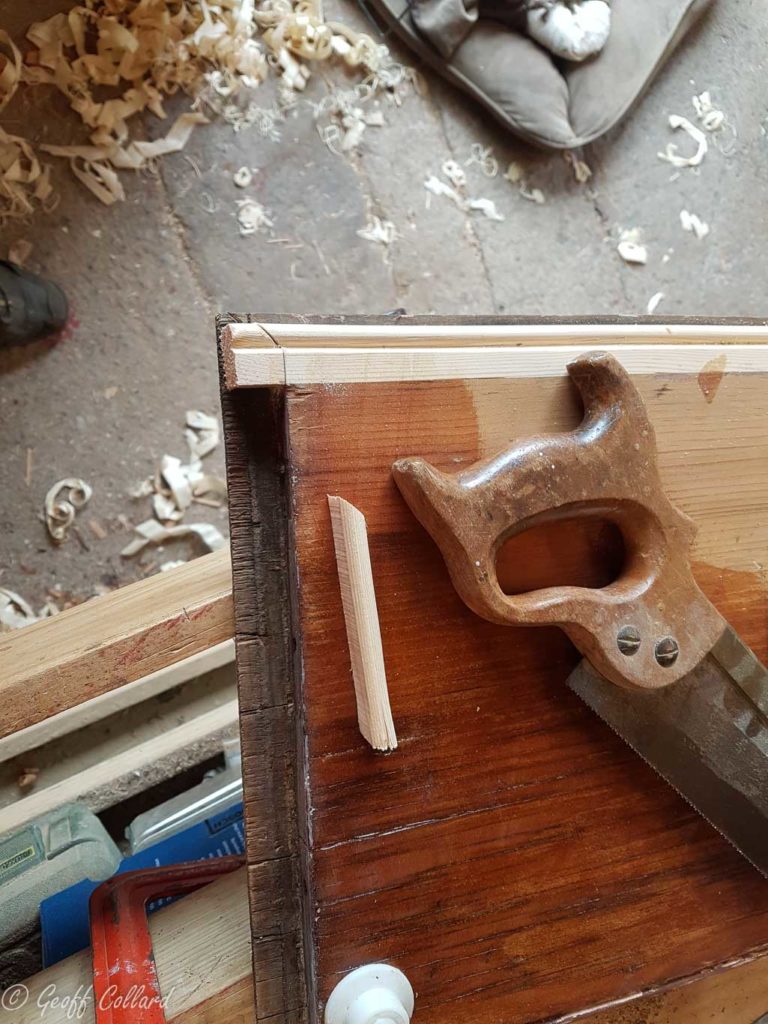
Cutting in the cross moulding
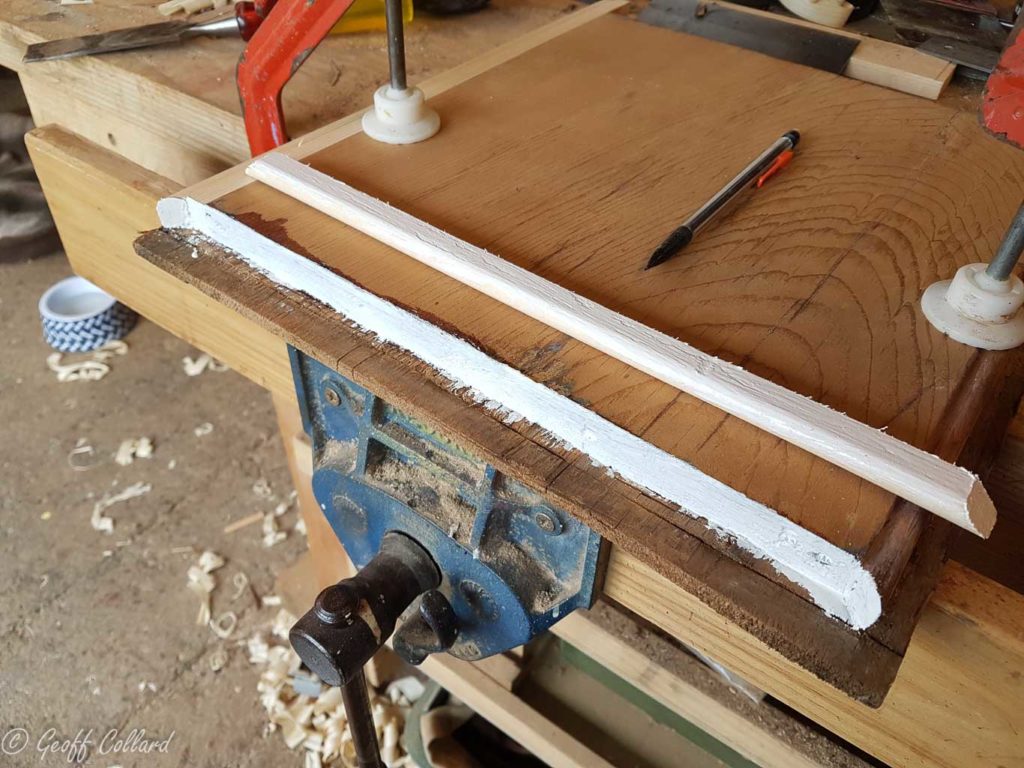
Because the original moulding was simply nailed on I have treated the end grain with wood hardener, paint and then I nailed on with CT1 which will allow movment.
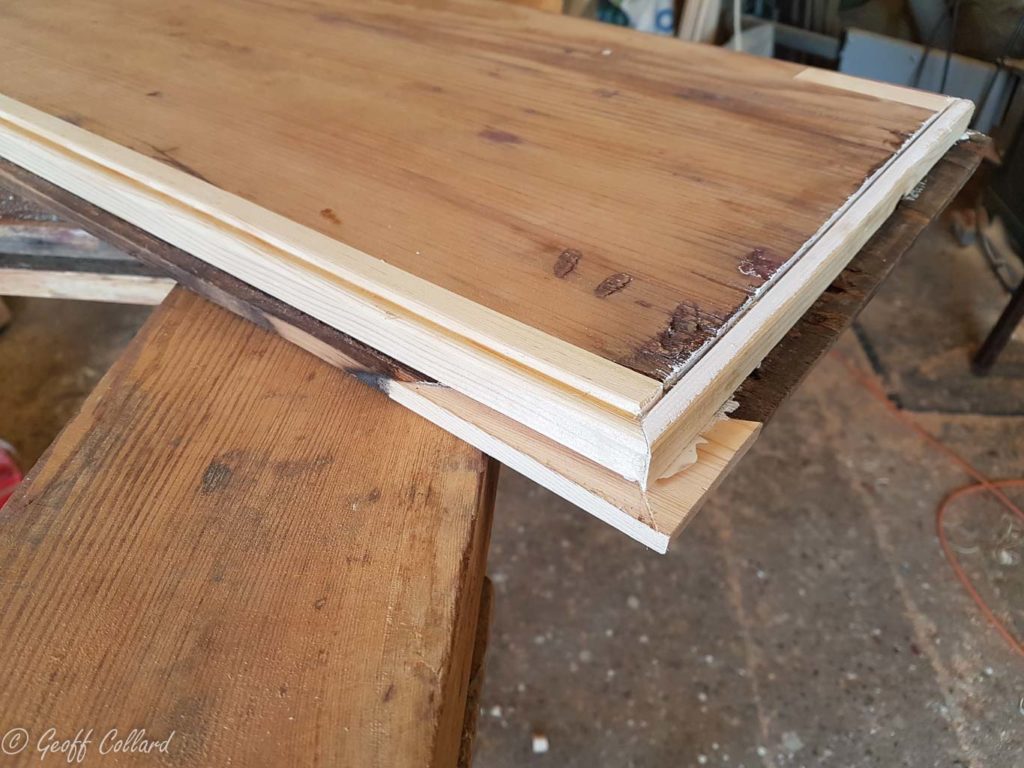
A patch work of patches, using cascamite glue this is fine and as the new wood is all from the same plank will all move together, the only part that won't is the cross moulding,
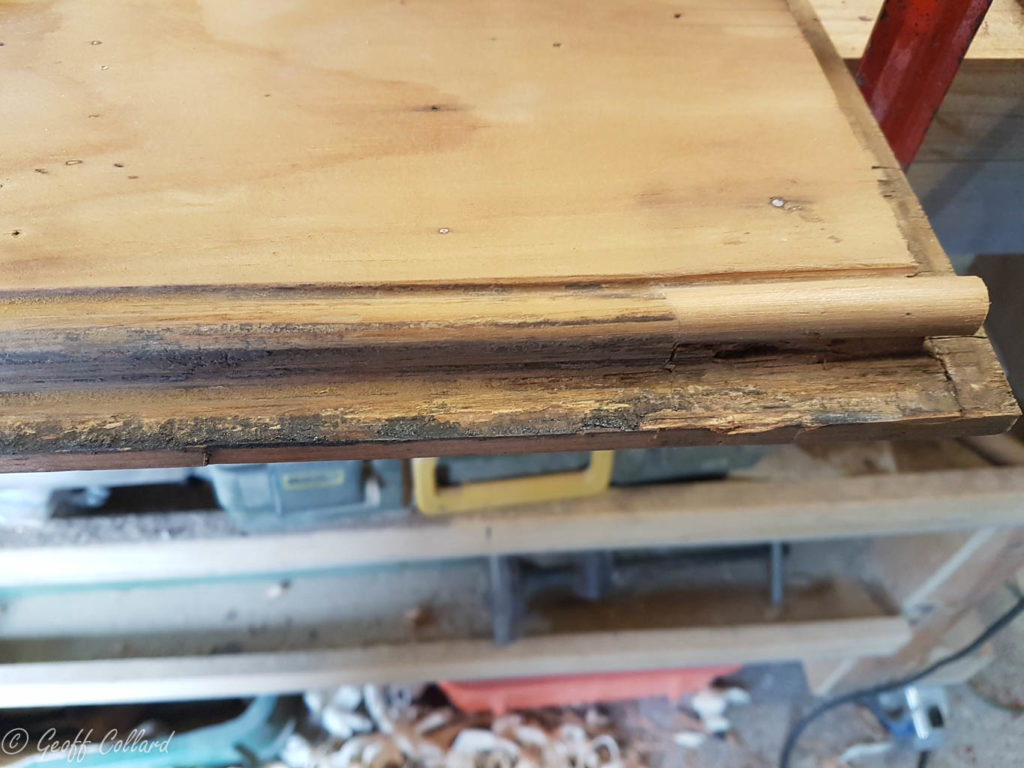
Patch using a good piece from the opposite side
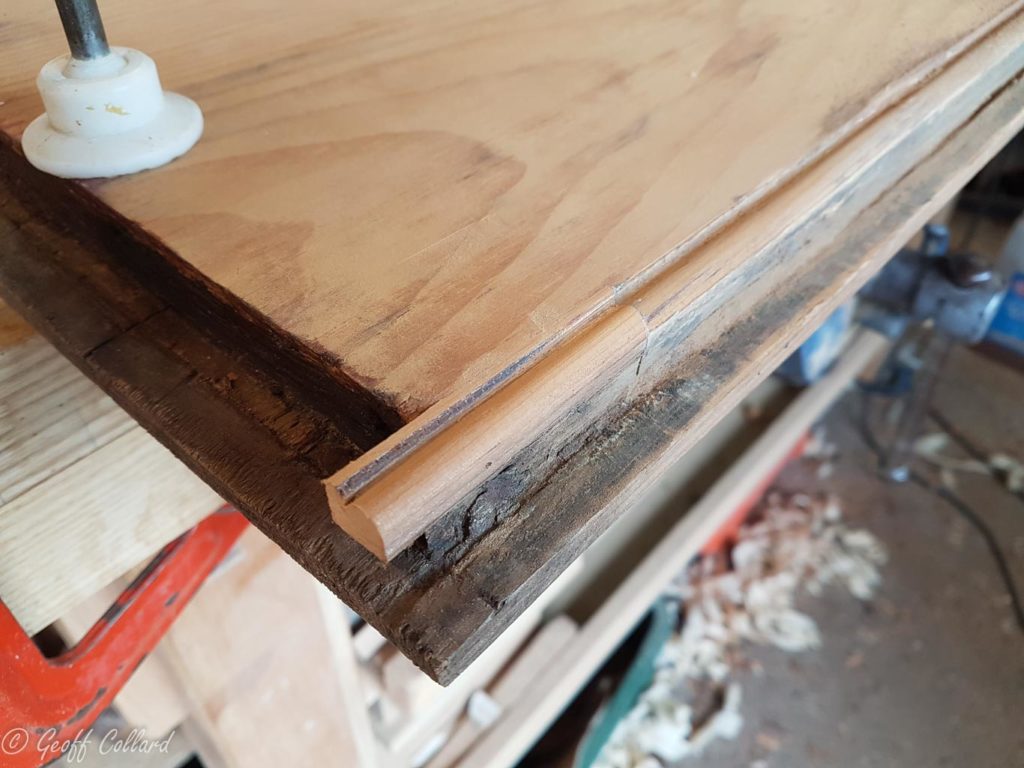
Another patch using a good piece from the opposite side
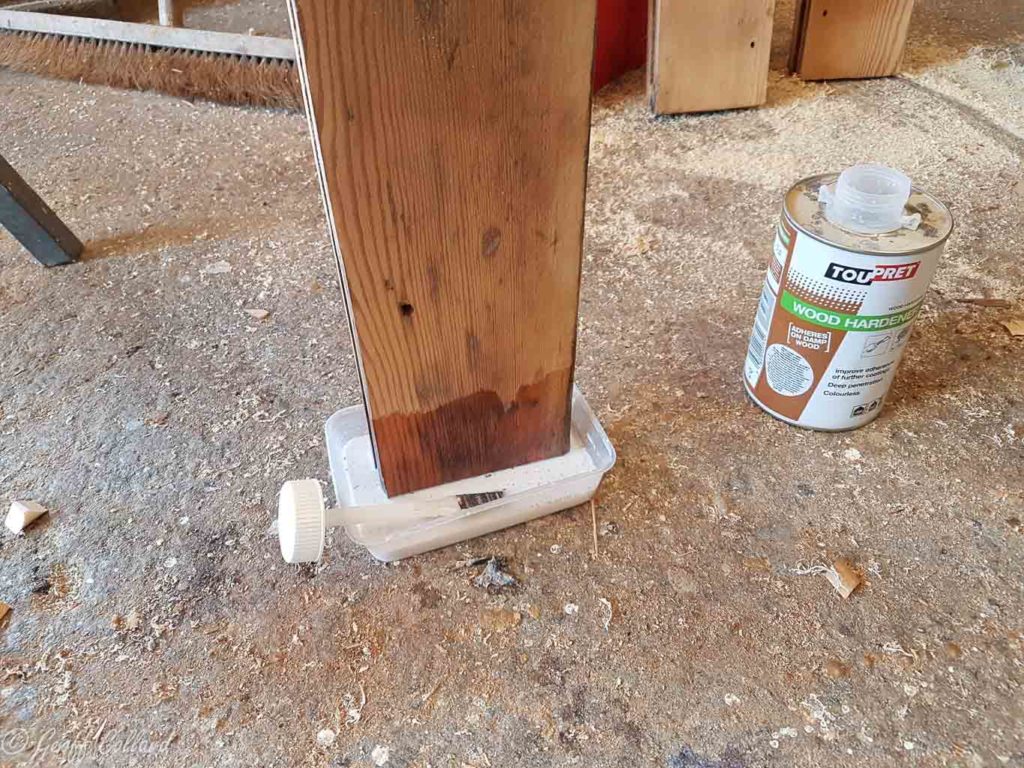
End grain of door stiles being socked up with wood hardener
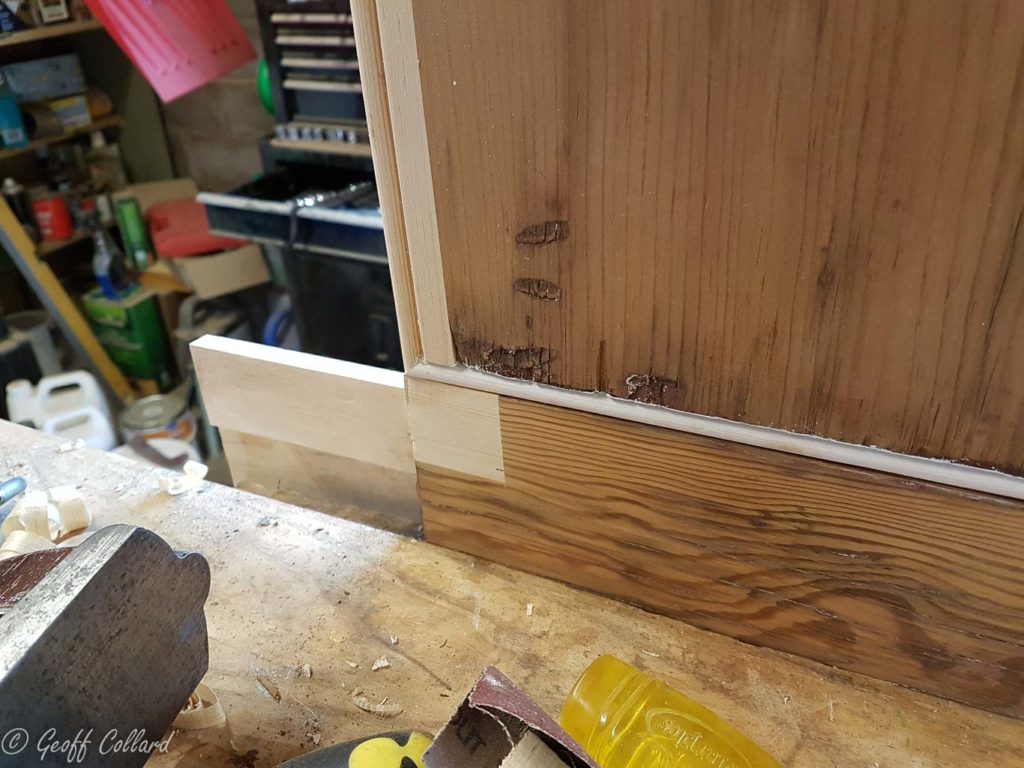
Patched bottom rail
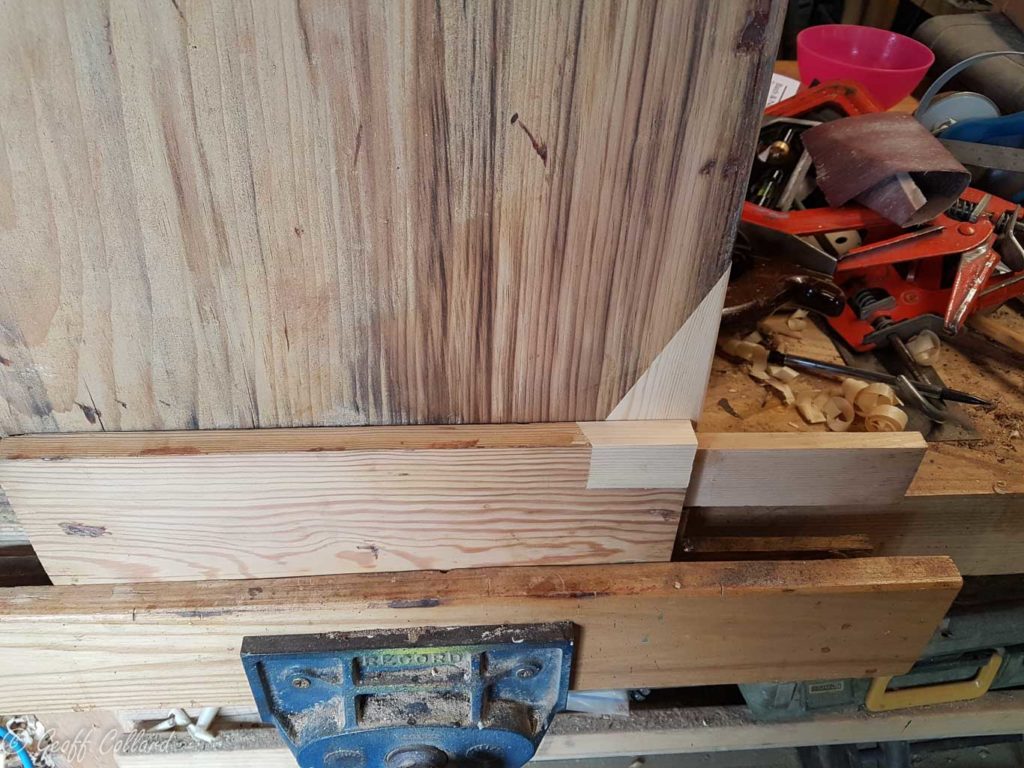
Burnt area of panel and rail are patched
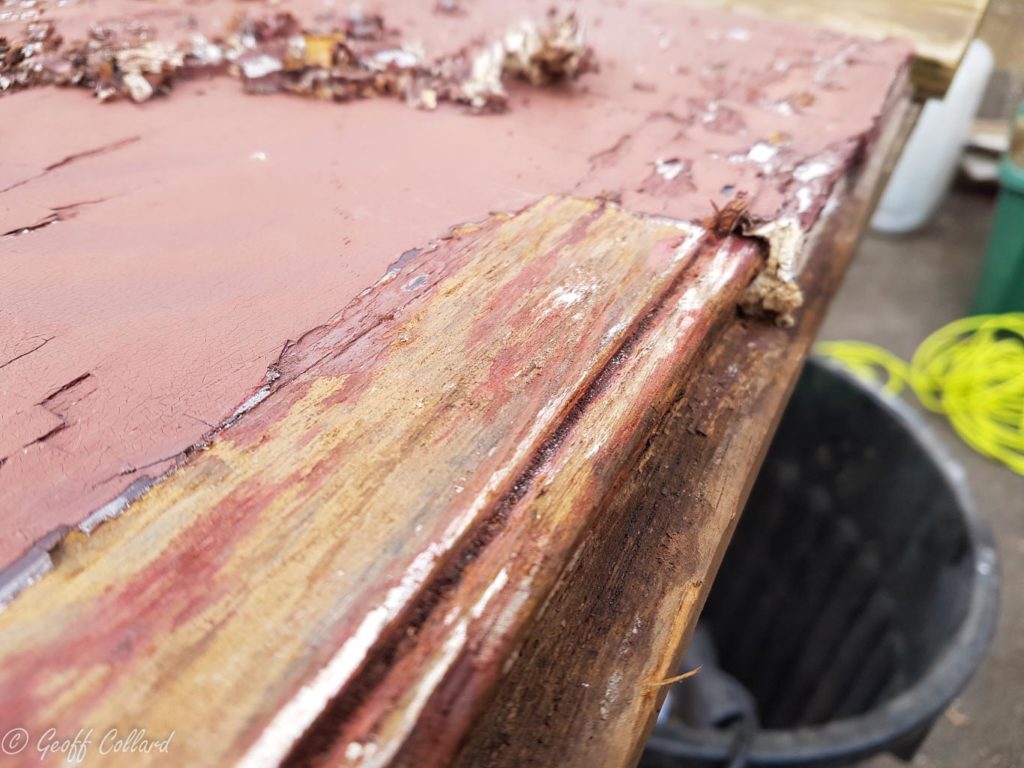
removing thick paint to reveal a bead
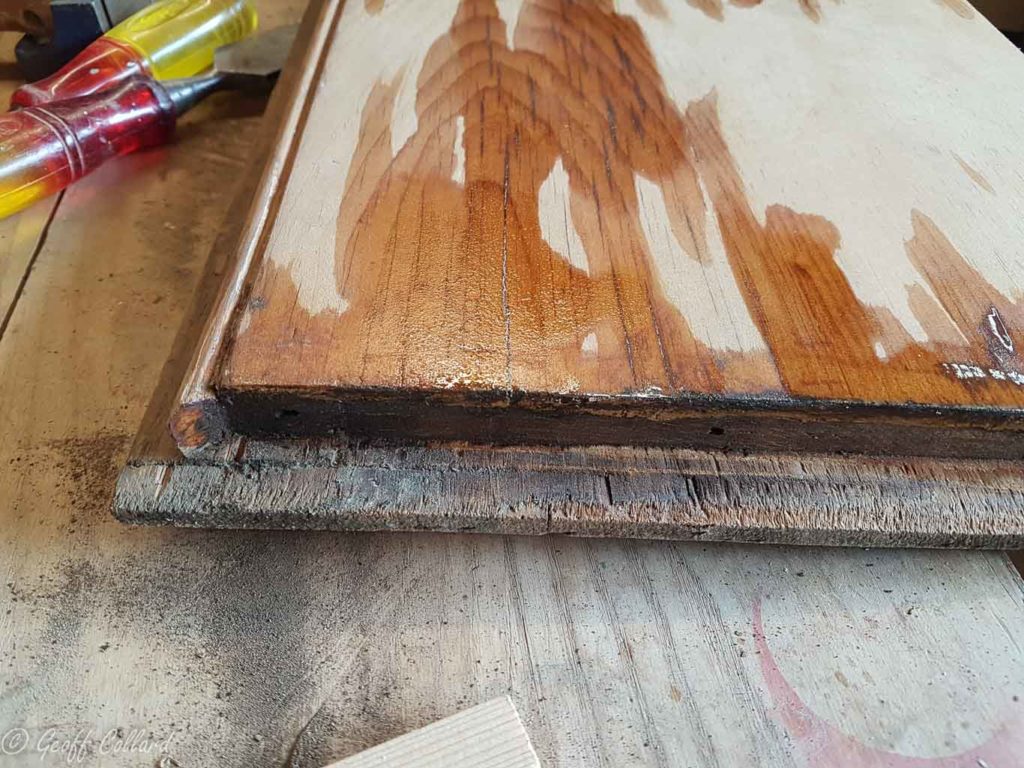
Applying wood hardener to the cracks and end grain, I poured hardener down the cracks
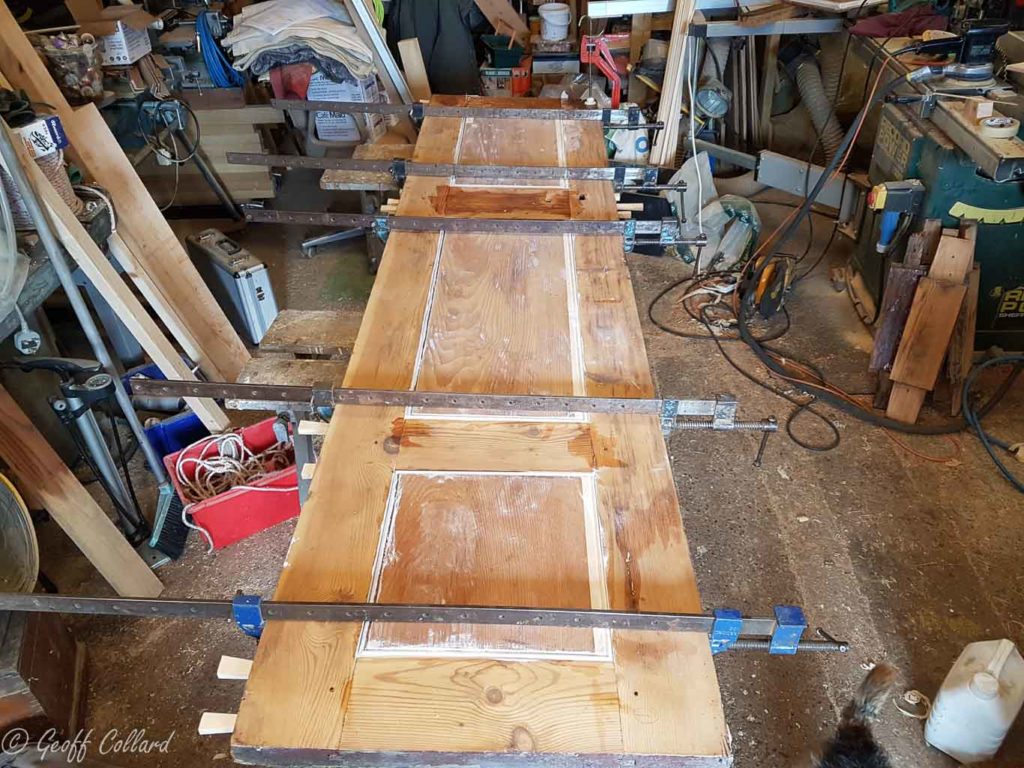
Doors being cramped up and new wedges bashed in with a rubber mallet
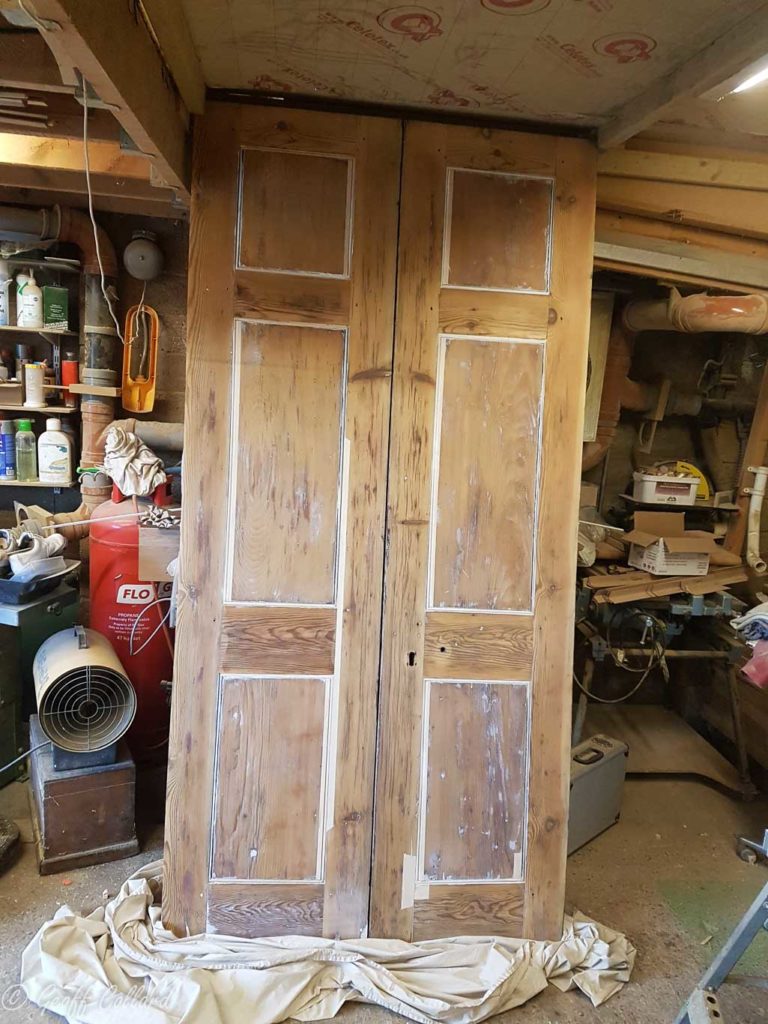
Doors ready for paint, notice panel edges are already protected.
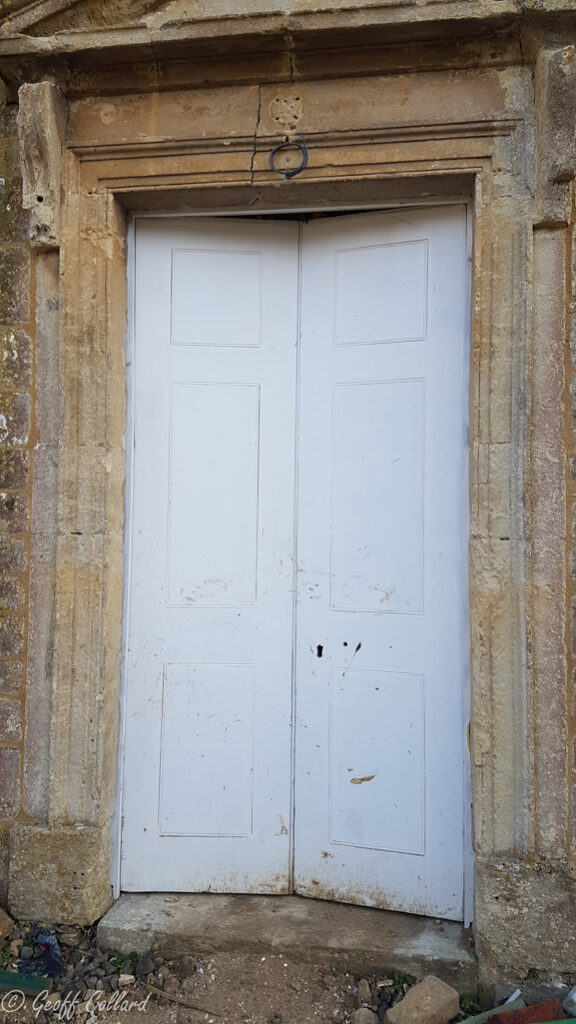
restored door for the chaple in rudge